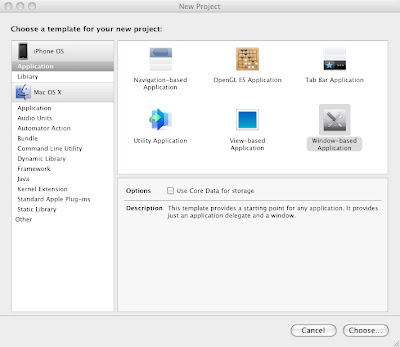
After doing this give your project an appropriate name i have used textfielddemo as the name of our project
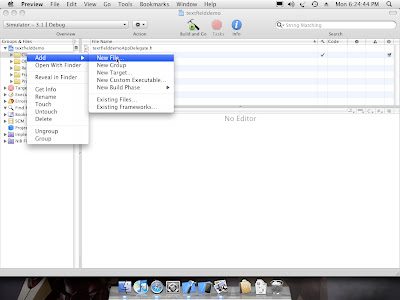
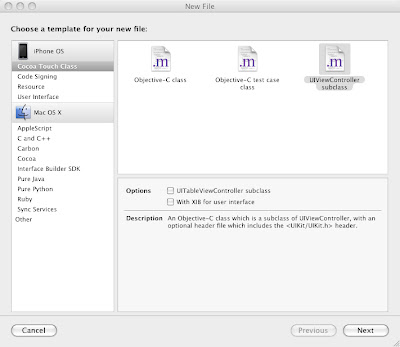
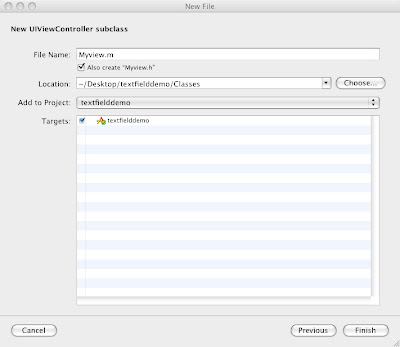
After selecting UIViewController subclass a window will pop up whcih will ask you to save the file and give it an appropriate name which looks like this
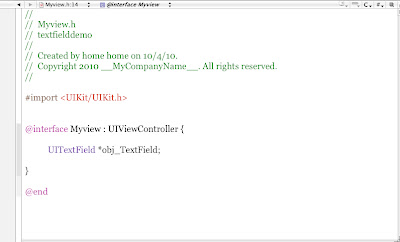
First we will set the frame of text field and then set the boarder style and text of the text field. So now you select the .m file thats Myview.m and add the follwing code in the init method
//allocate memory and set the frame for textfield object
obj_TextField = [[UITextField alloc]initWithFrame:CGRectMake(87, 135, 114, 31)];
[obj_TextField setBorderStyle:UITextBorderStyleRoundedRect]; //set the boarder style
obj_TextField.text = @"Radix"; //setting the text for textfield
- (void)loadView {
}
- (void)viewDidLoad {
[super viewDidLoad];
}
viewDidLoad method is called after loadView method and if you are making your application via code then use the loadView method else if you are using the Interface Builder then in that case use the viewDidLoad method.
- (void)loadView {
[super loadView]; //loading super view
[self.view addSubview:obj_TextField]; //adding textfield object to the current view
[obj_TextField release]; //release the textfield object after display
}
In the second line of code i have added the textfield object to my current view and in the last line i have released the textfield object as i won't be using it anymore

Now its time to display this view which is present in the Myview class in your iPhone window. Since Myview is a class you have to make its object so lets see how this process is done, now you have to select the textfielddemoAppDelegate.m file and search for the method called applicationDidFinishLaunching which looks like this
- (void)applicationDidFinishLaunching:(UIApplication *)application {
// Override point for customization after application launch
[window addSubview:obj.view];
[window makeKeyAndVisible];
}
but before that you have to import the Myview.h header file as you will be creating the object of Myview class
- (void)applicationDidFinishLaunching:(UIApplication *)application {
// Override point for customization after application launch
Myview *obj = [[Myview alloc]init]; //creating object of myview
[window addSubview:obj.view]; //adding the view to the window
[window addSubview:obj.view];
[window makeKeyAndVisible];
}

now all you have to do now is run the application by clicking Build and Go inorder to run the iphone simulator and see the output which will be like this

BitCode hopes that this post has helped you in clearing your concepts regarding the view and view controllers. You can post your queries at bitcode.pune@gmail.com for any technical assistance.

excellent post, Java Classes In Amravati
ReplyDelete